
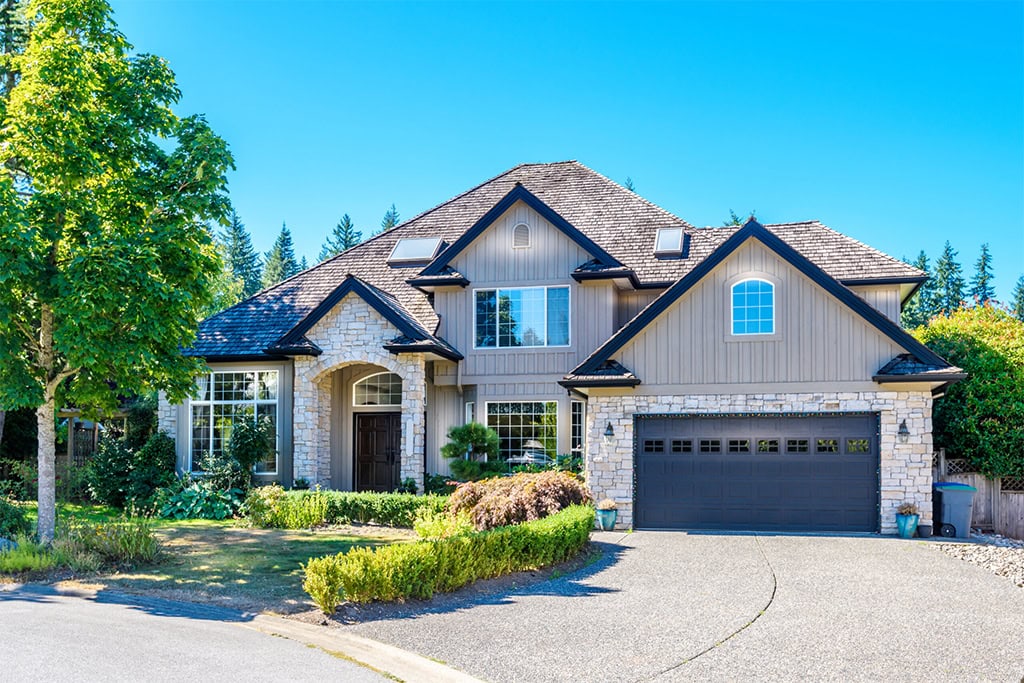
If you’re planning an exterior paint job, proper preparation is just as important as the paint itself. Skipping key steps can lead to peeling, cracking, and a finish that won’t last. Whether you’re doing it yourself or hiring a pro, here’s how to prep your home’s exterior the right way.
1. Inspect the Surface
Before any brushes or rollers come out, walk around your home and inspect the siding and trim. Look for peeling paint, mildew, cracks, or any signs of wood rot. These issues need to be addressed first, as paint won’t stick properly to damaged or dirty surfaces.
2. Wash It Down
A clean surface is essential for proper adhesion. Use a pressure washer on a low setting to remove dirt, cobwebs, mildew, and chalky residue. For tough spots or delicate areas, a scrub brush and a solution of water and trisodium phosphate (TSP) or mild detergent will do the trick. Let the surface dry completely before moving on.
3. Scrape and Sand
Once dry, scrape off any loose or flaking paint. A paint scraper or putty knife works well here. Then sand the surface—especially rough edges or bare wood—to smooth it out and help the new paint grip better. This extra effort pays off in a more even, longer-lasting finish.
4. Repair and Caulk
Fill in any holes, cracks, or imperfections using a high-quality exterior filler. Check around windows, doors, and joints for gaps, and apply a paintable exterior-grade caulk. Let everything cure completely according to the product instructions.
5. Prime the Surface
Primer acts as the foundation for your paint, helping it adhere and covering up patched or stained areas. Use a quality exterior primer suited for your surface type—whether it’s wood, vinyl, stucco, or masonry. Be thorough, especially on bare wood or repaired spots.
6. Protect What Doesn’t Need Paint
Use painter’s tape to mask off trim, windows, and fixtures. Cover nearby landscaping, walkways, and decks with drop cloths or plastic sheeting. This step saves time during cleanup and keeps everything looking neat.
7. Pick the Right Day
Finally, timing is everything. Ideal painting conditions are mild and dry—between 50°F and 85°F with low humidity. Avoid painting in direct sunlight or if rain is expected within 24–48 hours.
Choose the Right Paint for Long-Lasting Results
Once your prep is done, make sure you use high-quality paint that can stand up to the elements. We recommend Sherwin-Williams Latitude™ or Emerald® Exterior for exceptional durability. Both are formulated to resist fading, blistering, and peeling, even under intense sun, wind, and rain. Latitude™ is especially great for extended application windows and Emerald® offers excellent coverage and mold resistance, making them ideal choices for a long-lasting, beautiful finish.
FAQs
-
How clean is clean enough before painting an exterior?
Most homeowners stop washing once the obvious dirt is gone, but true paint-ready clean means eliminating invisible chalk, mildew, and loose fibers so primer can actually bite into the surface. This often requires pressure washing, targeted cleaners, and a full 24–48 hours of dry time before moving on. -
Why is scraping and sanding more than just cosmetic prep?
Scraping and sanding are not about looks first; they are about removing every poorly bonded paint edge so your new coating is anchored to solid material, not to failure-prone layers beneath. Feather-sanding those edges creates a subtle transition that stops telegraphed ridges and premature peeling lines. -
What hidden problems does exterior prep reveal before you paint?
Slow, methodical prep often exposes issues paint cannot fix, like soft or rotten wood, open siding joints, and hairline stucco cracks that quietly funnel water behind the shell of your home. Catching and repairing these during inspection, filling, and caulking turns your paint job into genuine weatherproofing. -
How much does weather really matter during exterior prep?
Weather is not just a painting concern; it dictates whether washing water can evaporate, fillers can cure, and primers can bond instead of trapping moisture beneath a hard shell. Working in the wrong temperature or humidity window silently shortens a “10-year” paint job to a few disappointing seasons. -
Why is priming a strategic step, not an optional extra?
Primer is the bridge between imperfect, mixed materials and a uniform topcoat, sealing porous spots while gripping bare wood, metal, or patched areas so color lays down evenly. Skipping or spot-using primer where it is needed invites flashing, stains bleeding back through, and early micro-cracking in the finish.
Ready to Paint?
A little extra prep work goes a long way in making your exterior paint job look professional and last for years. Whether you’re refreshing your home’s curb appeal or changing colors entirely, starting with a clean, smooth, and primed surface—and finishing with a premium paint—guarantees the best results.

Cameron Loughlin is the founder of Paint Craft Co., a new residential and commercial painting company serving Denver and Colorado Springs. With over a decade of hands-on experience, he combines technical craftsmanship with strengths in sales, marketing, and team building. Cameron has learned what homeowners and businesses value most: clear communication, reliability, and superior workmanship. He has built his company to deliver exactly that. His vision marries the professionalism and systems of a larger firm with the personalized attention of a local business. He’s assembling a team of skilled painters who take pride in their craft and a customer-first approach that keeps projects on time, on budget, and stress-free. From complete home transformations to commercial refreshes and specialized work on cabinets, decks, and fences, Cameron focuses on exceptional results and lasting relationships. By streamlining estimates, scheduling, and follow-up, he makes the process transparent. Cameron is committed to trust, consistency, and genuine local community care.