
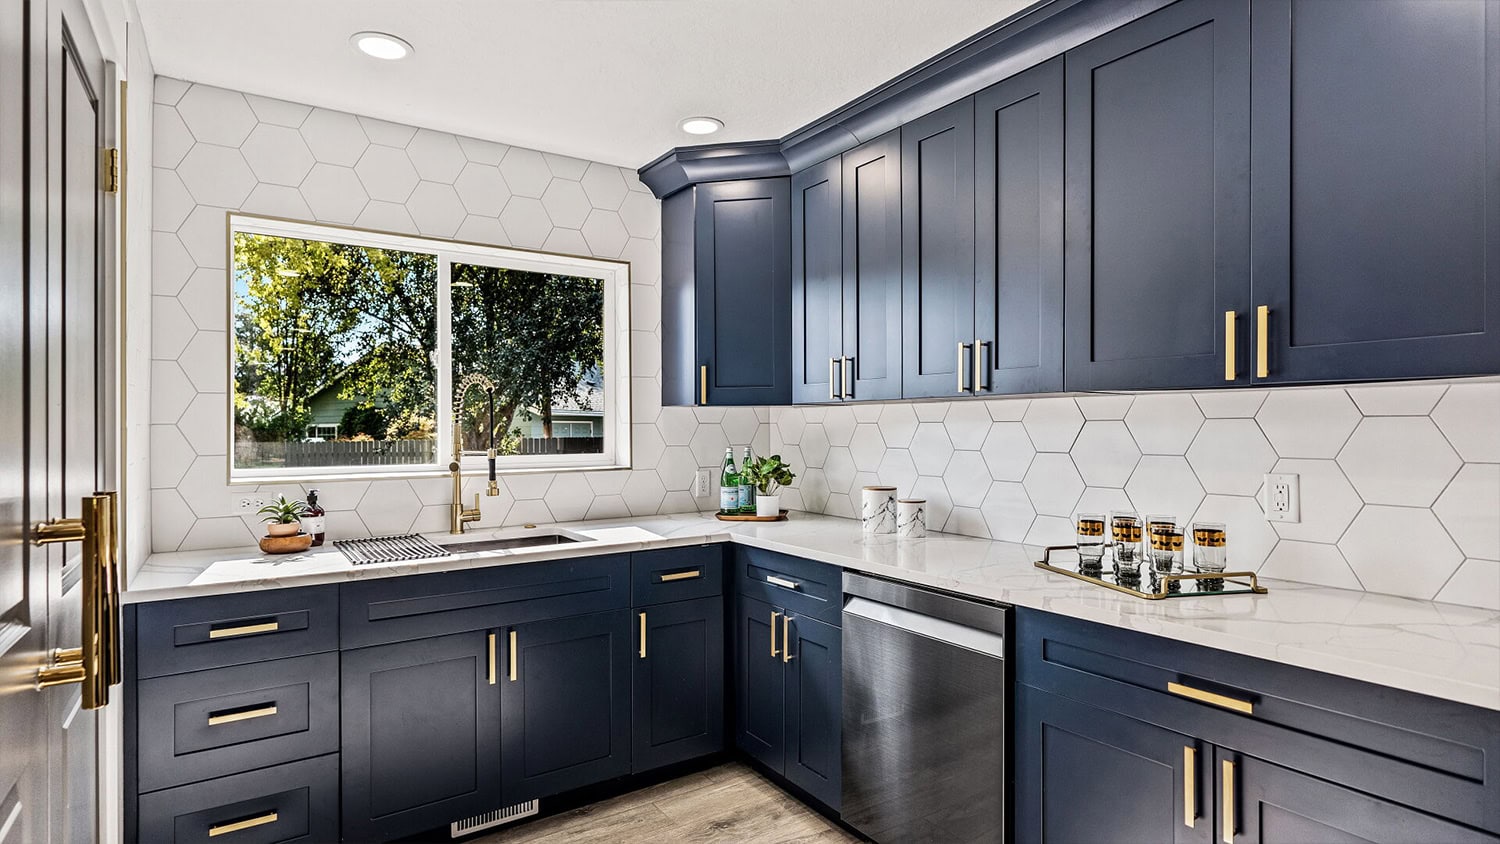
Peeling cabinet paint is one of those problems that feels “random” until you know what to look for.
In reality, peeling almost always comes down to adhesion: the coating didn’t bond well to the cabinet surface, or it bonded at first and then got stressed by moisture, heat, cleaning, or time.
If you’re searching for cabinet painting in Denver, this guide will help you understand why cabinet paint peels and exactly what to do to keep your finish solid, smooth, and easy to wipe down.
Why cabinet paint peels (the quick explanation)
Cabinet paint peels when one or more of these happen:
- The surface still has grease, wax, or residue
- The old finish is too slick or glossy for new paint to grip
- The wrong primer/paint system was used for cabinets
- The coating was applied too thick, too fast, or without enough dry/curing time
- Moisture and heat (hello, kitchens) stress the paint film over time
Now let’s break it down so you can fix the real cause, not just the symptom.
10 common causes of peeling cabinet paint in Denver kitchens
1) Grease you can’t see (but paint can)
Kitchens build up a thin film of oils that makes paint slide right off.
Even if cabinets look “clean,” the area near the stove, handles, and lower doors is usually coated.
Peeling clue: Paint lifts around knobs, pulls, and edges first.
Prevention
- Use a strong kitchen degreaser or a pro-grade cleaner
- Scrub into corners, trim profiles, and the bottom edges of doors
- Rinse/wipe thoroughly so no cleaner residue stays behind
2) Painting over glossy finishes without deglossing
Many cabinets have a durable factory finish that’s designed to resist stains and moisture.
That’s great for cabinets, but bad for paint bonding if you skip surface prep.
Peeling clue: Large sheets peel off, sometimes revealing a shiny layer underneath.
Prevention
- Sand to scuff the surface (not necessarily down to bare wood)
- Or use a liquid deglosser where sanding can’t reach well
- Clean again after sanding to remove dust
3) Skipping bonding primer (or using the wrong one)
Cabinets are not walls.
Wall primer and wall paint often won’t hold up on doors that get touched and cleaned constantly.
Peeling clue: Paint chips easily at edges and corners, especially near handles.
Prevention
- Use a bonding primer designed for slick surfaces
- Match primer to the cabinet material (wood, MDF, laminate, previously painted)
- Let primer dry fully before topcoats
4) Moisture and steam working against you
Kitchens get humidity spikes from boiling water, dishwashers, and cooking.
Denver is generally dry, but indoor moisture still rises fast during cooking, and temperature swings can stress coatings.
Peeling clue: Peeling shows up near sinks, dishwashers, or coffee stations.
Prevention
- Run vent fans during and after cooking
- Keep dishwasher steam from blasting cabinet edges (open carefully, let steam vent)
- Consider a tougher cabinet-grade topcoat system
5) Painting over wax, polish, or silicone products
Some “shine” products leave a coating that paint hates.
Silicone is a top offender because it can prevent adhesion and even cause fish-eye defects.
Peeling clue: Paint separates in weird spots, especially where cleaners/polish were used.
Prevention
- Avoid polish or wax cleaners before painting
- Use a cleaner that cuts wax and oils
- If in doubt, do a small adhesion test before committing
6) Not removing doors and hardware
Yes, you can paint cabinets in place.
But doors painted while hanging are easier to miss on edges and harder to coat evenly, which can lead to weak points.
Peeling clue: Edges peel first, especially near hinges and corners.
Prevention
- Remove doors/drawers and label everything
- Remove knobs and pulls
- Paint doors flat where possible for even coverage
7) Thick coats and rushing recoat time
Cabinet coatings need time to set between coats.
If coats go on too thick or too fast, the outer layer dries while the lower layer stays soft, reducing durability and adhesion.
Peeling clue: Soft paint that dents easily, then starts lifting later.
Prevention
- Apply thinner coats
- Follow recoat windows on the product label
- Give more dry time in cool weather or low airflow
8) Painting over failing old paint
If the existing paint is already peeling or chalky, new paint is only as strong as what’s underneath.
Peeling clue: New paint peels and brings old paint with it.
Prevention
- Scrape/sand all loose material until edges feather smooth
- Prime exposed areas
- Don’t “paint over problems” and hope for the best
9) Tannins and wood bleed (especially on older wood)
Some woods release tannins that can interfere with coatings and stain through, weakening the finish over time if not sealed properly.
Peeling clue: Yellowish/brown stains show through, then the finish deteriorates.
Prevention
- Use a stain-blocking primer when needed
- Spot-prime knots, dark grain, and repaired areas
10) The finish never fully cured
Dry to the touch is not cured.
Cabinet paint can take days (sometimes weeks) to fully harden, depending on the product and conditions.
Peeling clue: The paint looks fine at first, then starts to stick, scuff, or lift during cleaning.
Prevention
- Treat painted cabinets gently for the first couple of weeks
- Avoid harsh cleaners early
- Don’t reattach hardware too tightly until the coating firms up
The best prevention plan (step-by-step)
If you want cabinet paint to stay put, this workflow helps most projects succeed.
Step 1: Do an adhesion reality check
Before you start, ask:
- Are the cabinets glossy?
- Are there greasy areas near the stove?
- Is the old paint peeling already?
- Is the cabinet surface laminate or thermofoil?
If any answer is “yes,” prep and primer become non-negotiable.
Step 2: Clean like paint depends on it (because it does)
Focus on:
- Around pulls/knobs
- Door edges (especially bottom edges)
- The cabinet above the stove
- Any cabinet next to a trash pull-out
Then rinse/wipe so no residue film remains.
Step 3: Scuff sand or degloss
You’re not trying to remove the whole finish.
You’re creating a surface your primer can grip.
Pay extra attention to:
- Edges and corners
- Raised profiles
- Around hinges
Step 4: Prime for bonding
Choose a primer that matches the surface and the end goal (durable, wipeable cabinets).
If you’re unsure, this is where professional cabinet painting in Denver often differs: primer choice and application are what make the finish last.
Step 5: Use a cabinet-grade coating system
Cabinet paints/enamels are engineered to resist:
- Scrubbing
- Oils
- Moisture
- Daily wear
They also level better and cure harder than standard wall paint.
Step 6: Respect dry time and cure time
A practical rule:
- Give each coat the time it needs
- Add extra time if it’s cool, the home is closed up, or airflow is limited
Step 7: Reassemble carefully
- Use felt bumpers on doors
- Avoid over-tightening hardware
- Let shelves and drawers cure before heavy use
Key benefits of preventing peeling (what you get when it’s done right)
- A finish that doesn’t lift at corners and edges
- Cabinets that stay wipeable without damage
- Better resistance to steam and splashes
- Less chipping around handles and pulls
- A smoother look that feels closer to a factory finish
Fast troubleshooting: where is it peeling?
Peeling near handles
Most likely:
- Skin oils + cleaner residue + weak prep
Fix:
- Deep clean + scuff + spot prime + repaint those areas
Peeling at door edges
Most likely:
- Thin coverage or impact wear
- Doors rubbing or slamming
Fix:
- Improve edge prep and coverage
- Add bumpers, check hinge alignment
Peeling near sink/dishwasher
Most likely:
- Moisture + heat + early cleaning
Fix:
- Tougher coating system
- Better curing time
- Venting and moisture control
Peeling in sheets
Most likely:
- Painted over a glossy or contaminated surface
- Wrong primer
Fix:
- Strip/sand back to a stable surface
- Bonding primer + cabinet enamel
Denver-specific factors that can affect cabinet paint
Denver homes often deal with:
- Big temperature swings across seasons
- Dry air can make coatings feel ready sooner than they really are
- Winter indoor heating that changes humidity and airflow patterns
What that means for cabinets:
- Give coatings enough time to cure, even if they feel dry
- Maintain steady indoor conditions when possible during painting and curing
- Avoid heavy cleaning too soon after the final coat
How to maintain painted cabinets so they don’t start peeling later
Cleaning rules that help finish last
- Use mild soap and water or a gentle cleaner
- Avoid abrasive pads and gritty scrubs
- Don’t soak cabinet edges with water
- Wipe spills quickly, especially near sinks
Habits that reduce wear
- Use bumpers and soft-close hardware when possible
- Avoid slamming doors
- Keep the steam vented out during cooking
- Don’t hang wet towels on cabinet doors
When it’s smart to hire a pro for cabinet painting in Denver
DIY can work, but cabinets are less forgiving than walls.
You may want professional help if:
- Cabinets are slick (factory finish, laminate, thermofoil)
- Old paint is failing
- You want a smoother spray-like finish
- You need durability that holds up to frequent cleaning
FAQs
1) Can I just paint over peeling cabinet paint?
You can, but it usually fails again. Remove all loose paint, feather-sand edges smooth, then prime and repaint with a cabinet-grade system.
2) What primer prevents cabinet paint from peeling?
A bonding primer matched to your cabinet surface is the usual solution. The right choice depends on whether your cabinets are wood, MDF, laminate, or previously painted.
3) How long should cabinet paint cure before I clean it?
Many cabinet coatings require several days to harden, and full curing can take longer. Avoid strong cleaners early and be gentle for the first couple of weeks.
4) Why does cabinet paint peel around handles first?
Handles collect skin oils and grease, and that area gets touched the most. If the surface wasn’t fully cleaned and scuffed, adhesion is weaker there.
5) Does Denver’s climate make peeling more likely?
Not by itself, but temperature swings and changes in indoor humidity can stress a weak paint job. Solid prep, bonding primer, and proper cure time make the difference.

Cameron Loughlin is the founder of Paint Craft Co., a new residential and commercial painting company serving Denver and Colorado Springs. With over a decade of hands-on experience, he combines technical craftsmanship with strengths in sales, marketing, and team building. Cameron has learned what homeowners and businesses value most: clear communication, reliability, and superior workmanship. He has built his company to deliver exactly that. His vision marries the professionalism and systems of a larger firm with the personalized attention of a local business. He’s assembling a team of skilled painters who take pride in their craft and a customer-first approach that keeps projects on time, on budget, and stress-free. From complete home transformations to commercial refreshes and specialized work on cabinets, decks, and fences, Cameron focuses on exceptional results and lasting relationships. By streamlining estimates, scheduling, and follow-up, he makes the process transparent. Cameron is committed to trust, consistency, and genuine local community care.